CHECK YOUR EMAIL! YOUR FREE GETTING STARTED GUIDE IS ON ITS WAY!
Now, Let’s Get You Ready to Make That First Cut.
You’ve got the tools, terminology, and basic steps to start turning your T-shirts into a quilt.
But knowing what to do and actually cutting into a T-shirt you can’t replace are two VERY different things.
Before you start cutting up those treasured shirts, let me show you exactly how I prepare mine so you can cut with certainty.
Introducing...
THE CUT, STABILIZE, TRIM METHOD FOR T-SHIRT QUILTING
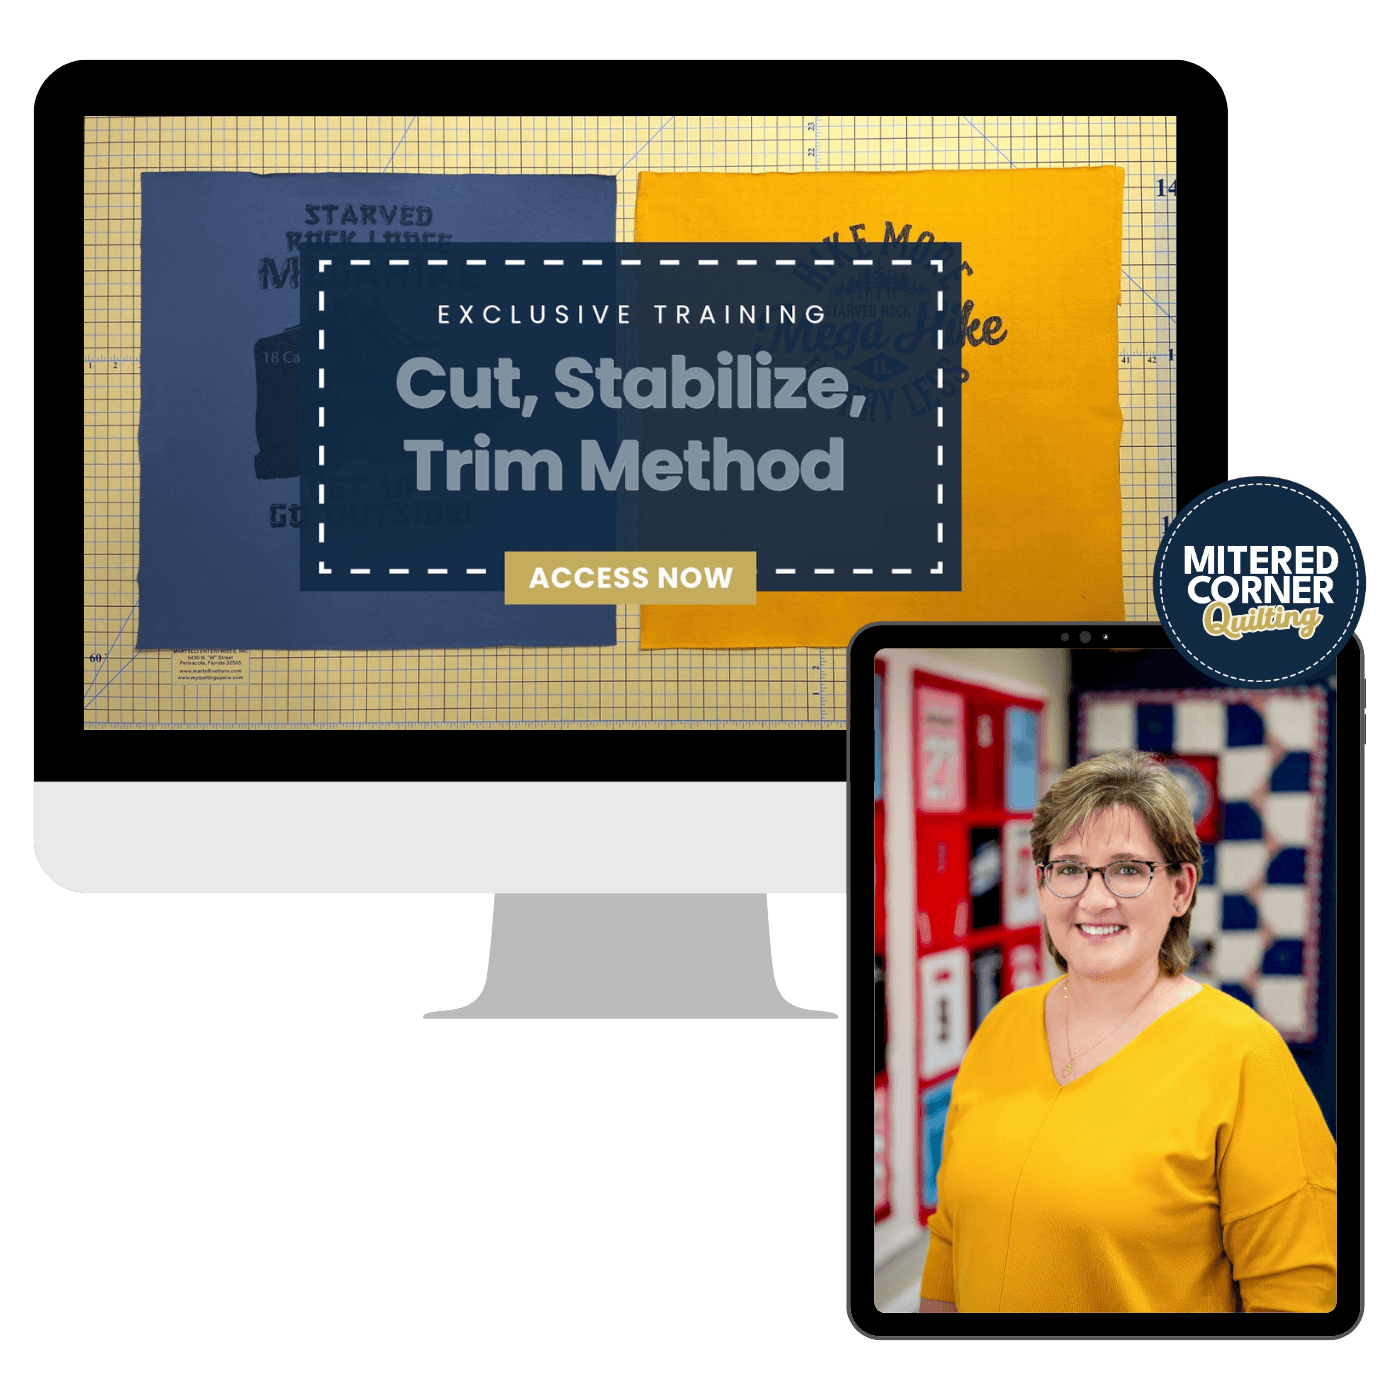
A simple, step-by-step video training that shows you how to confidently cut, stabilize, and trim your treasured T-shirts into quilt-ready blocks, without guessing your way through the most nerve-wracking part of the process.
You Don’t Need to Feel 100% Ready to Make the Whole Quilt.
You’ve been saving these shirts for a reason.
Maybe it’s your child’s favorite shirt from kindergarten. A concert tee from a night you’ll never forget. A jersey from years spent on the field. Or shirts from someone you love that you simply can’t replace.
These aren’t just pieces of fabric. They’re memories.
Which is exactly why taking a pair of scissors or rotary cutter to them can feel SO intimidating.
What if you cut
too much?
What if the graphic ends up in the wrong place?
What if the fabric stretches?
What if you make a mistake you can’t undo?
Suddenly, those shirts go right back into the pile while you tell yourself you’ll make the quilt someday.
The Cut, Stabilize, Trim Method was created to help you finally get started.
Instead of piecing together conflicting advice from different tutorials, you’ll have one clear, repeatable process you can follow for every shirt in your quilt.
Three Simple Steps. One Repeatable Method.
Inside the training, I’ll demonstrate exactly how I use my Cut, Stabilize, Trim Method to turn T-shirts into quilt-ready blocks.

STEP 1: CUT
Learn how to rough-cut your T-shirt larger than your final block size, giving yourself plenty of room to work before making that final cut.

STEP 2: STABILIZE
Learn how to apply stabilizer to create a dependable foundation for stretchy T-shirt fabric, so it’s easier to work with as you build your quilt.

STEP 3: TRIM
Once your shirt is stabilized, I’ll show you how to check your placement and trim your block to the unfinished size required by your chosen quilt pattern.
Then you repeat the same process with the next shirt. And the next.
One shirt at a time, that pile of T-shirts you've been saving starts becoming the quilt you’ve been wanting to make.
Everything You Need to Start Preparing Your T-Shirts With Confidence

THE CUT, STABILIZE, TRIM VIDEO TRAINING
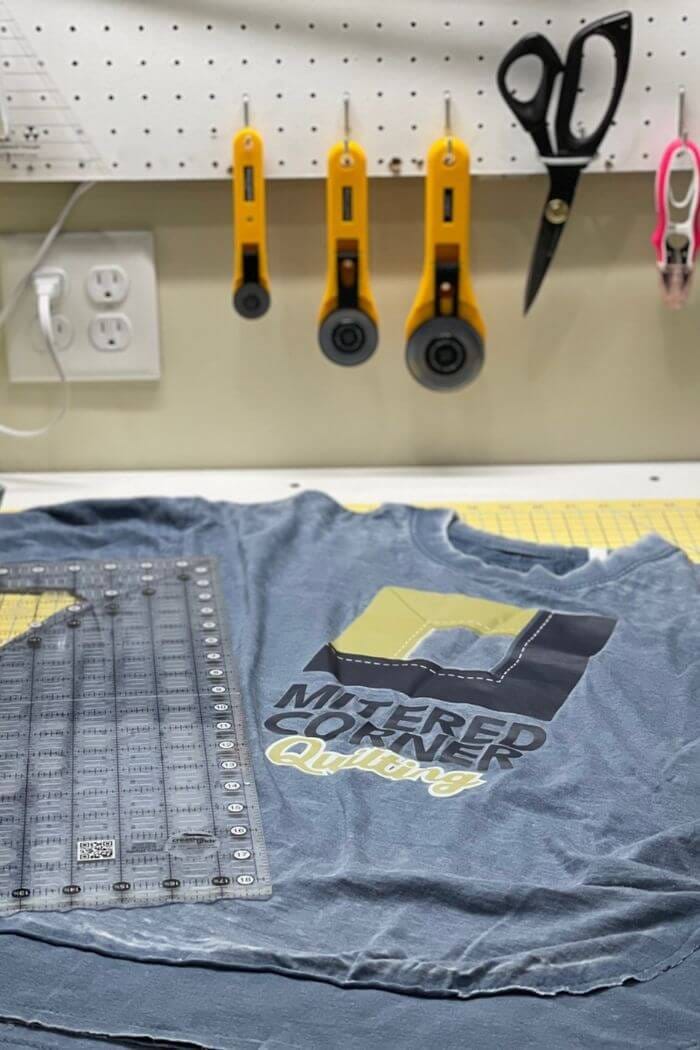
Watch as I walk you through the entire CST process step by step, including the tools and stabilizer I use and why each step happens in the order it does.
Watch the demonstration before you start, then pause, replay, and pull it back up as often as you need while preparing your own shirts.

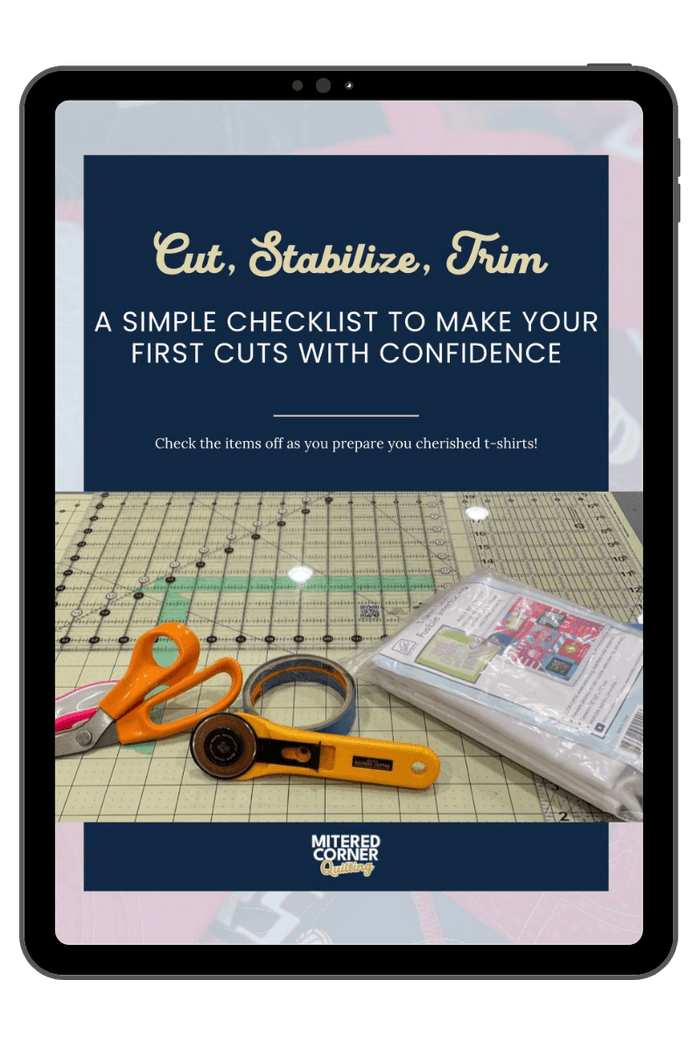
THE PRINTABLE CST CHECKLIST
No trying to remember what comes next.
Print the checklist and keep it beside you as you Cut → Stabilize → Trim each shirt.
Use a fresh copy for every shirt in your quilt and come back to it again for future T-shirt quilt projects.
GET BOTH TODAY FOR JUST $12
You’ve Saved Those T-Shirts for a Reason.
You already know you want to turn them into something you can actually use, see, and enjoy instead of leaving them folded away in a box.
You just don’t want to mess them up in the process.
The Cut, Stabilize, Trim Method is for you if...
You’ve been wanting to make a T-shirt quilt, but keep putting off actually starting.
Cutting into shirts you can’t replace makes you more than a little nervous.
You know how to sew, but stretchy T-shirt fabric feels completely different from the quilting cotton you’re used to.
You’ve watched videos or read tutorials, but still don’t feel confident enough to make that first cut.
You don’t need another pile of information. You just want someone to SHOW you what to do so you can finally get started.
Because making a T-shirt quilt shouldn’t start with crossing your fingers and hoping you don’t ruin something important.
It should start with a process you feel confident following, one shirt at a time.
It’s Time to Turn That Pile of T-Shirts Into a Quilt.
Now, instead of putting those shirts back in the box for someday, let’s get you confident enough to actually start.
With the Cut, Stabilize, Trim Method, you’ll have a simple, repeatable process to follow as you prepare each shirt and turn it into a quilt-ready block.
Get instant access to the CST video training and printable checklist so you can watch, follow along, and come back whenever you need a refresher—for this quilt and every T-shirt quilt you make after it.
Just $12
Take the next step toward turning those treasured T-shirts into the quilt you’ve been imagining.

Mitered Corner Quilting |Copyright ©2026 |All Rights Reserved